

Learn what Payment Pages are and how they fit hosted checkout in the Hosted Checkout Overview.
How to use Payment Page
How to access payment pages
To access the Payment Page feature, visit merchant.clickpesa.com, login and navigate to the “Payment Pages” menu item. On this page you find all the payment pages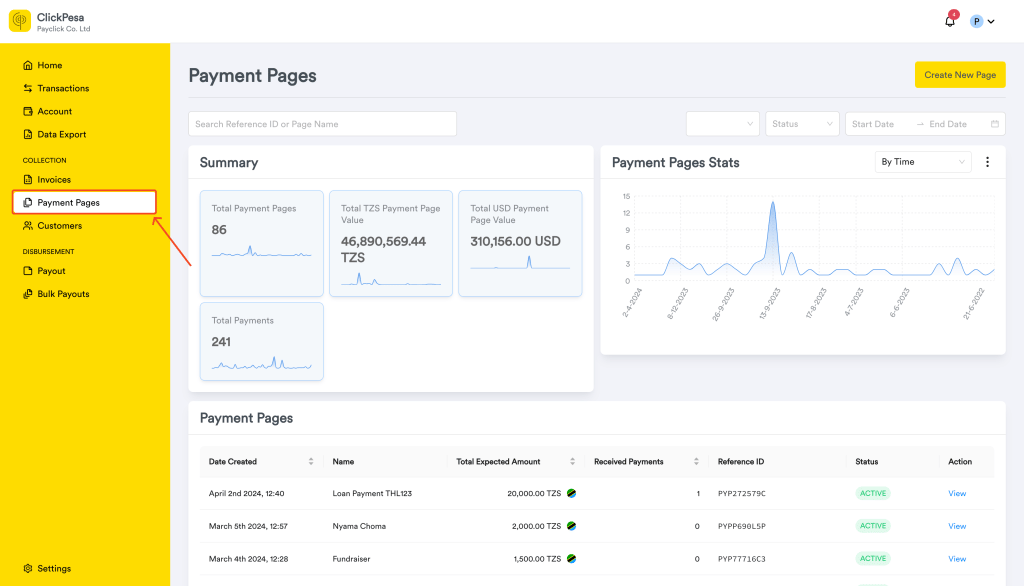
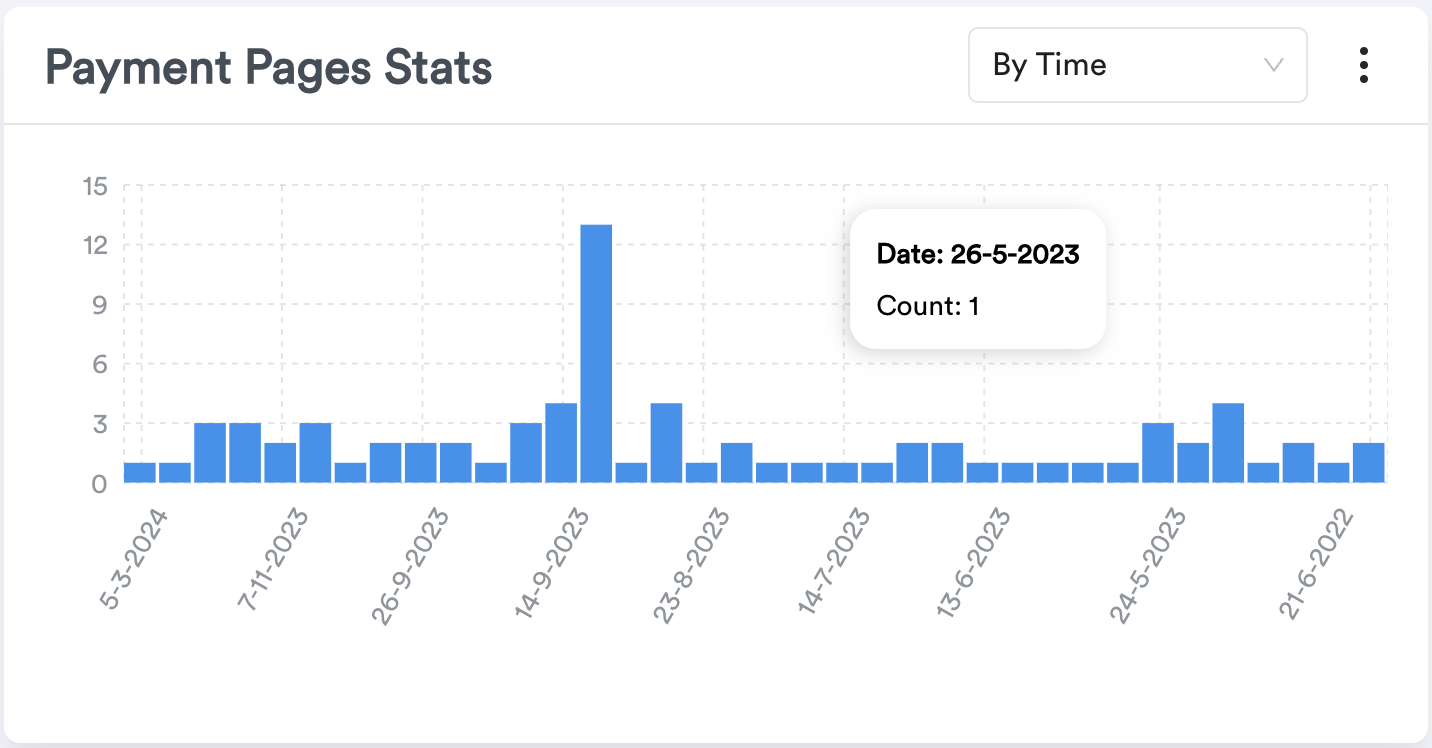
- On the page you should be able to see summary with payment pages coun, value and total payments count associated with payment pages.
- You will also be able to see a graph section where data are measured by time or status.
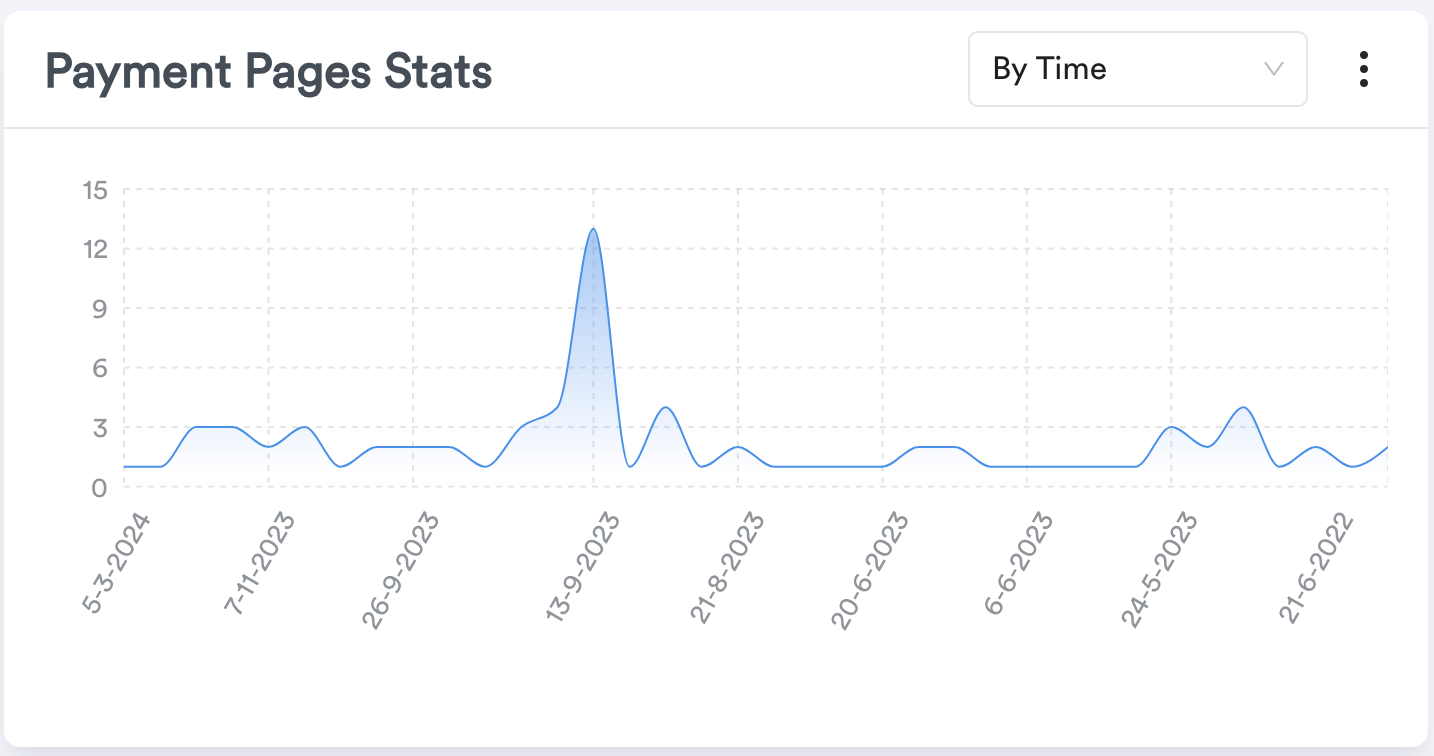
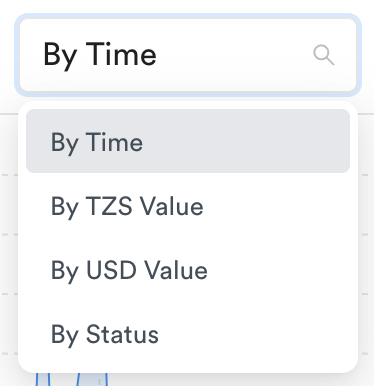
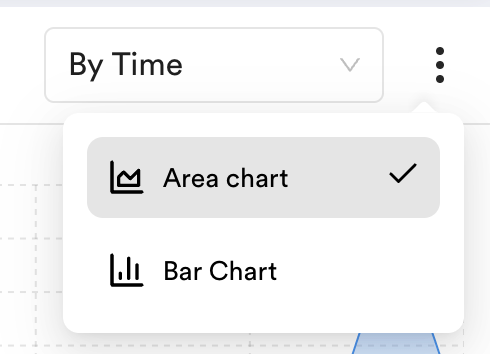
- On the graph you will be able to change graph data by selecting Time, value or status. You should also be able to change data style between area chart and bar chart
How to create a payment page
To fully use this feature, refer to the Payment methods documentation.- Click the “Create New Page” button on the Payment Pages tab.

- Fill in the following information about the payment page and submit
- Name of the page
- Amount mode
- Fixed amount: Set the amount and currency. Use this for tickets, products, or a set price. Whether the payer can change that amount is controlled by Allow Amount Update in Collection settings
- Open amount: Choose the currency only. The payer enters how much to pay on checkout. Use this for donations and other contributions where the amount is not fixed
- Description (optional). Click Add description to open the description field as shown below.


- Expiry date (optional). Click Add expiry date to set a last day the page can accept payments. After that date, the page stops accepting payments
- Customer (optional). Click Attach customer to open the customer field as shown below.


- Image of the product or service (if applicable).
- After you create the page, open it from the list to see a summary and all payments made for that page.
How to share a payment page
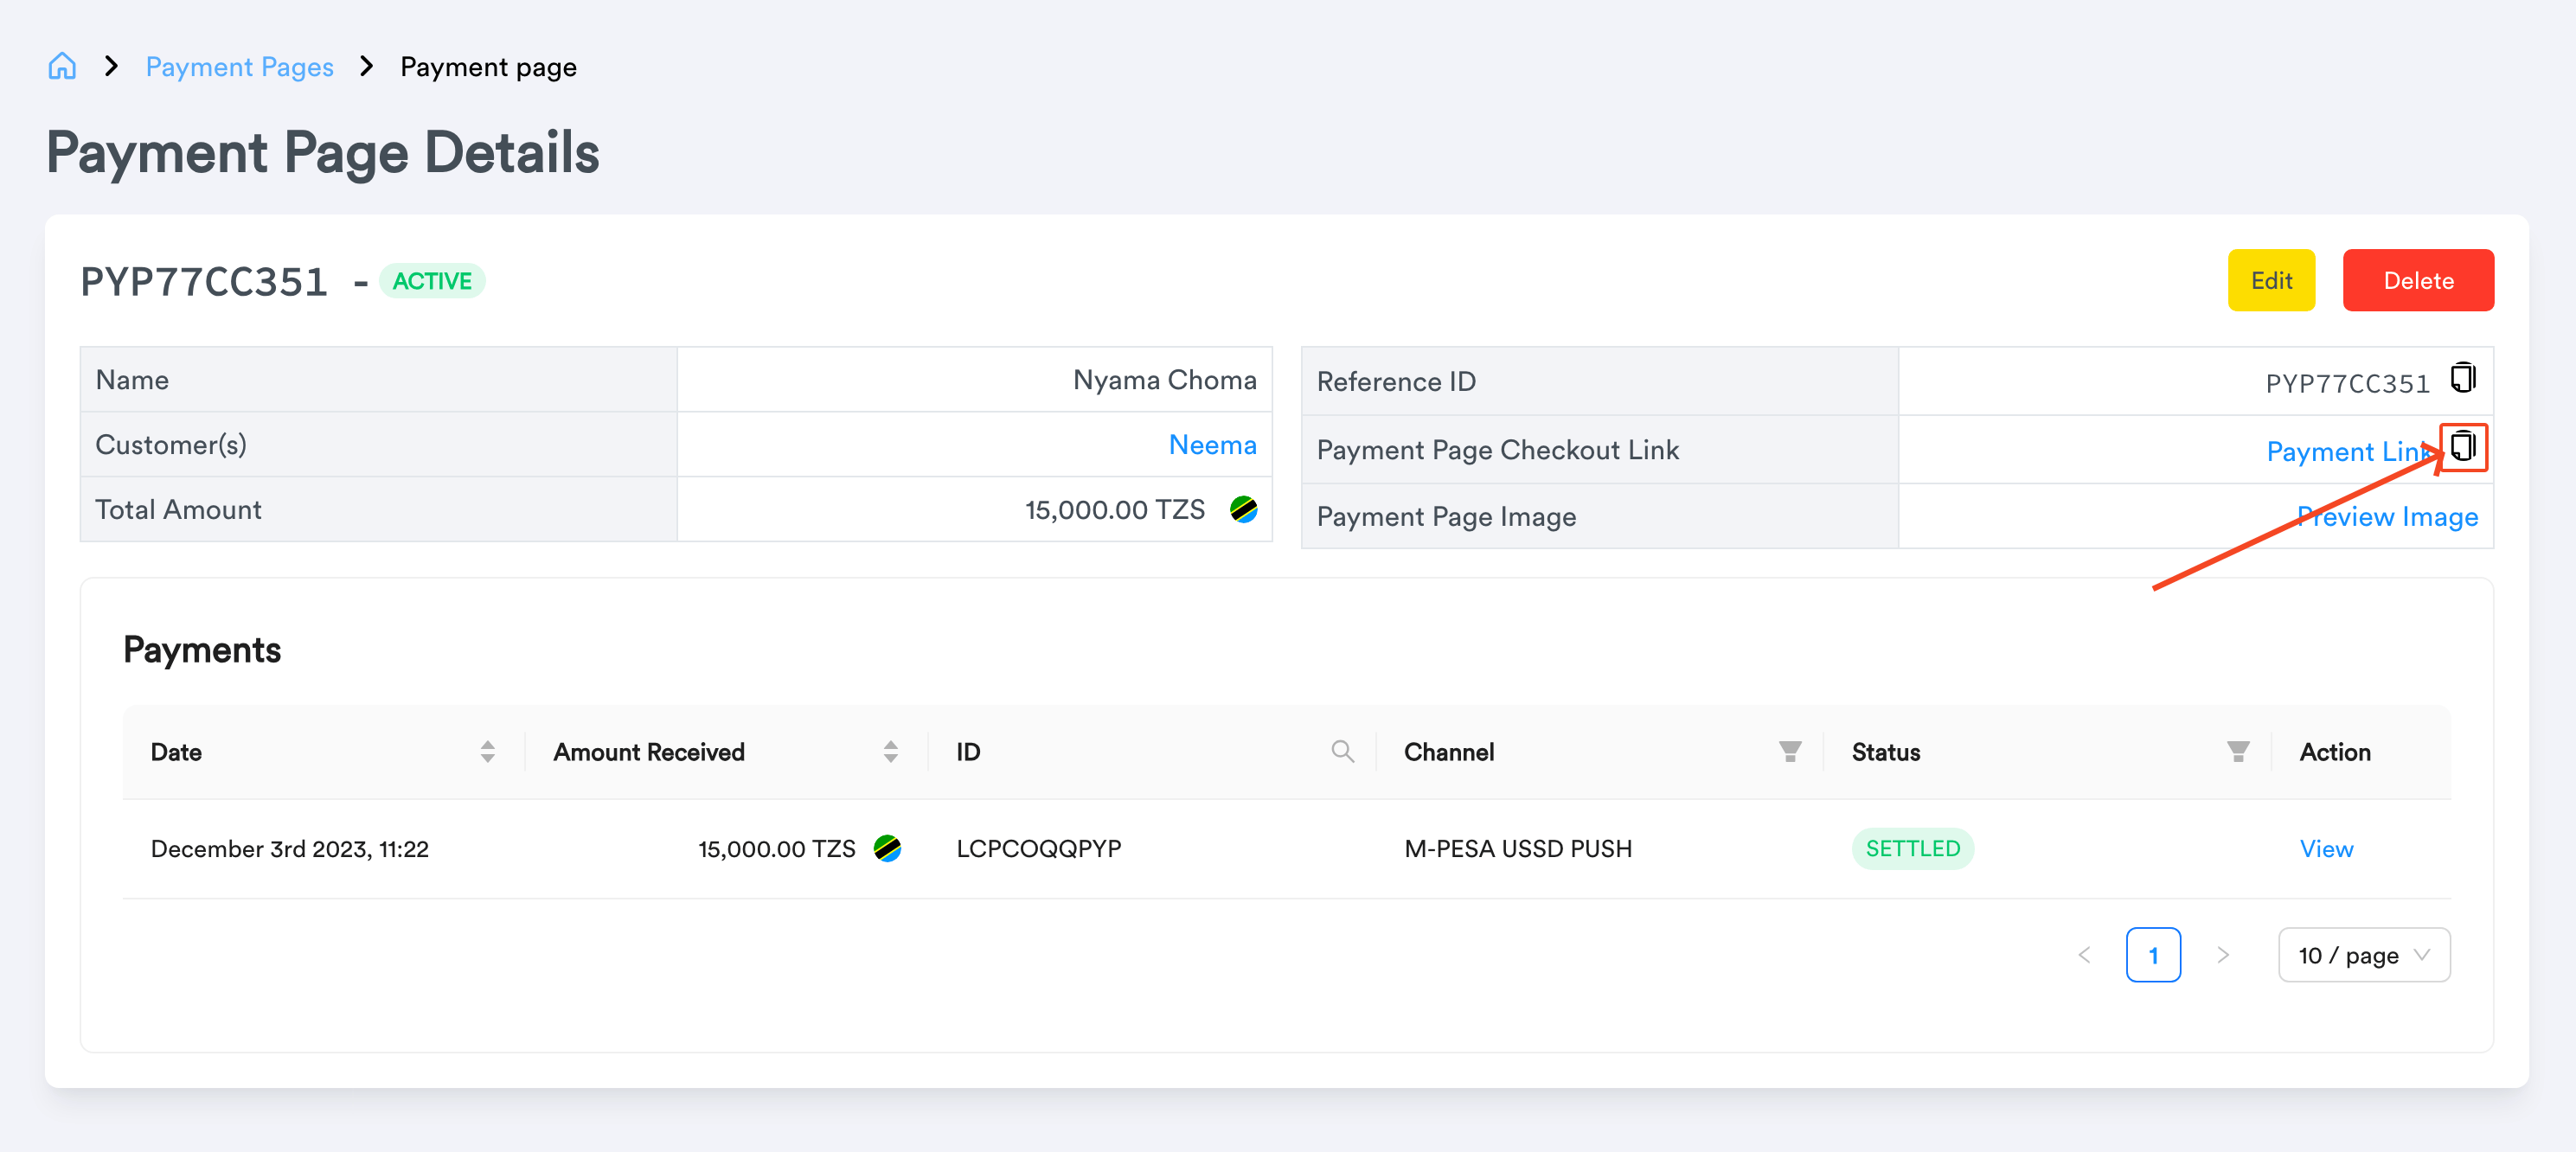
- Open the payment page. Under Actions, you can:
- Open Page — open the hosted checkout page in a new tab
- Copy Link — copy the checkout URL to share by email, WhatsApp, your website, or any other channel
- Share WhatsApp — open WhatsApp with the checkout link ready to send
- Download QR — download a QR code image of the checkout link
How to modify a payment page
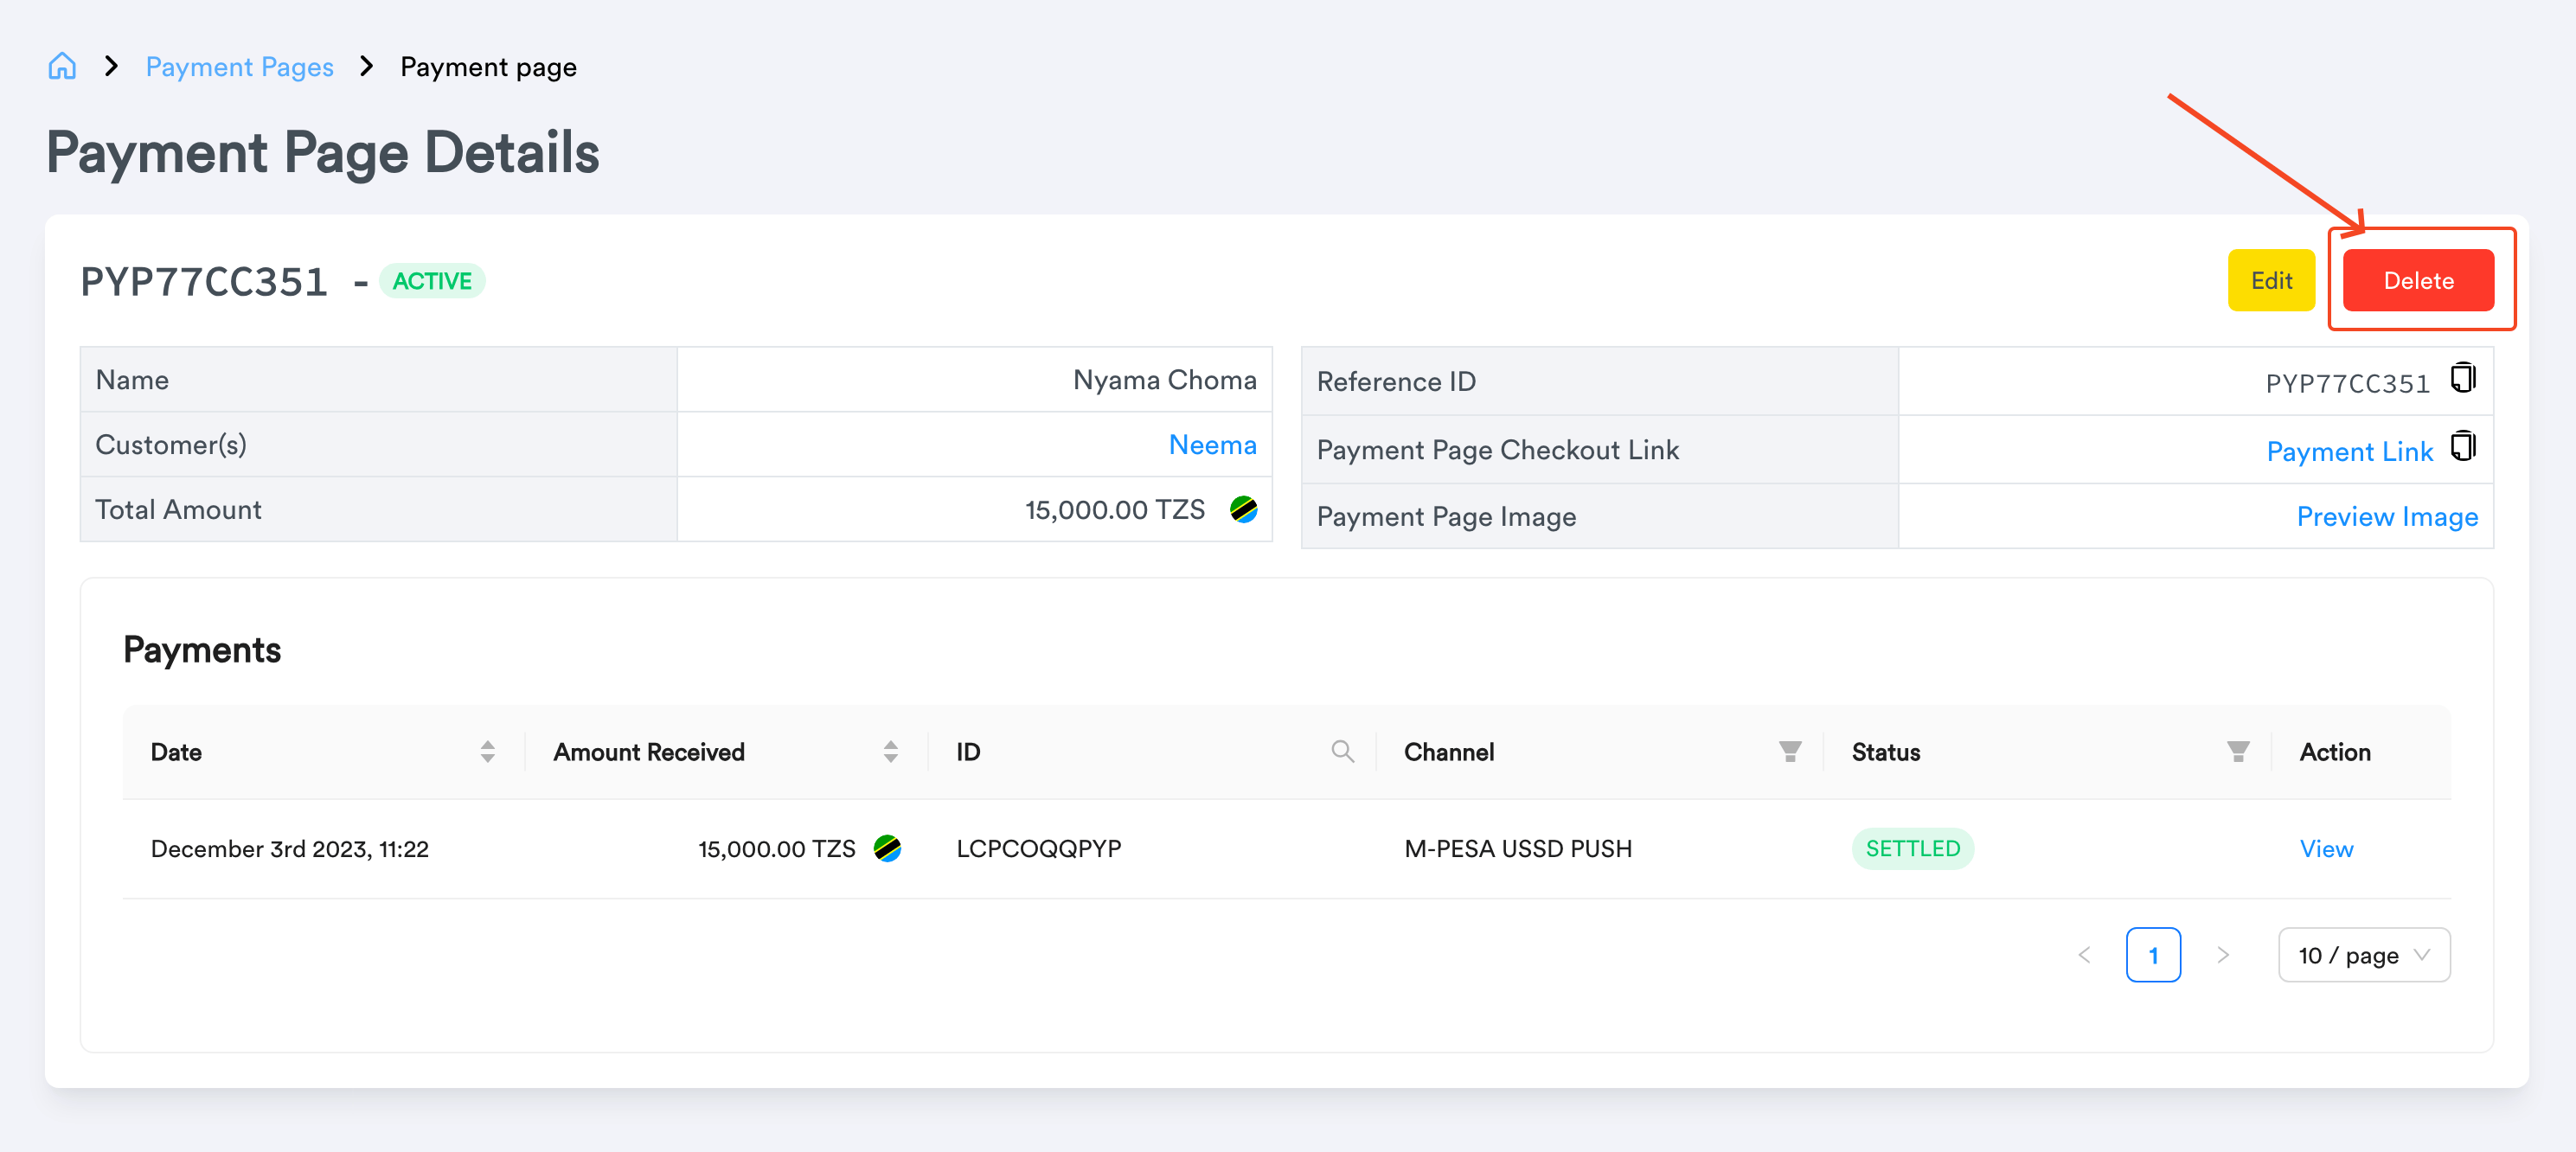
- Payment page can be edited, deleted or turned off/on, when viewing single payment page there are three actions.
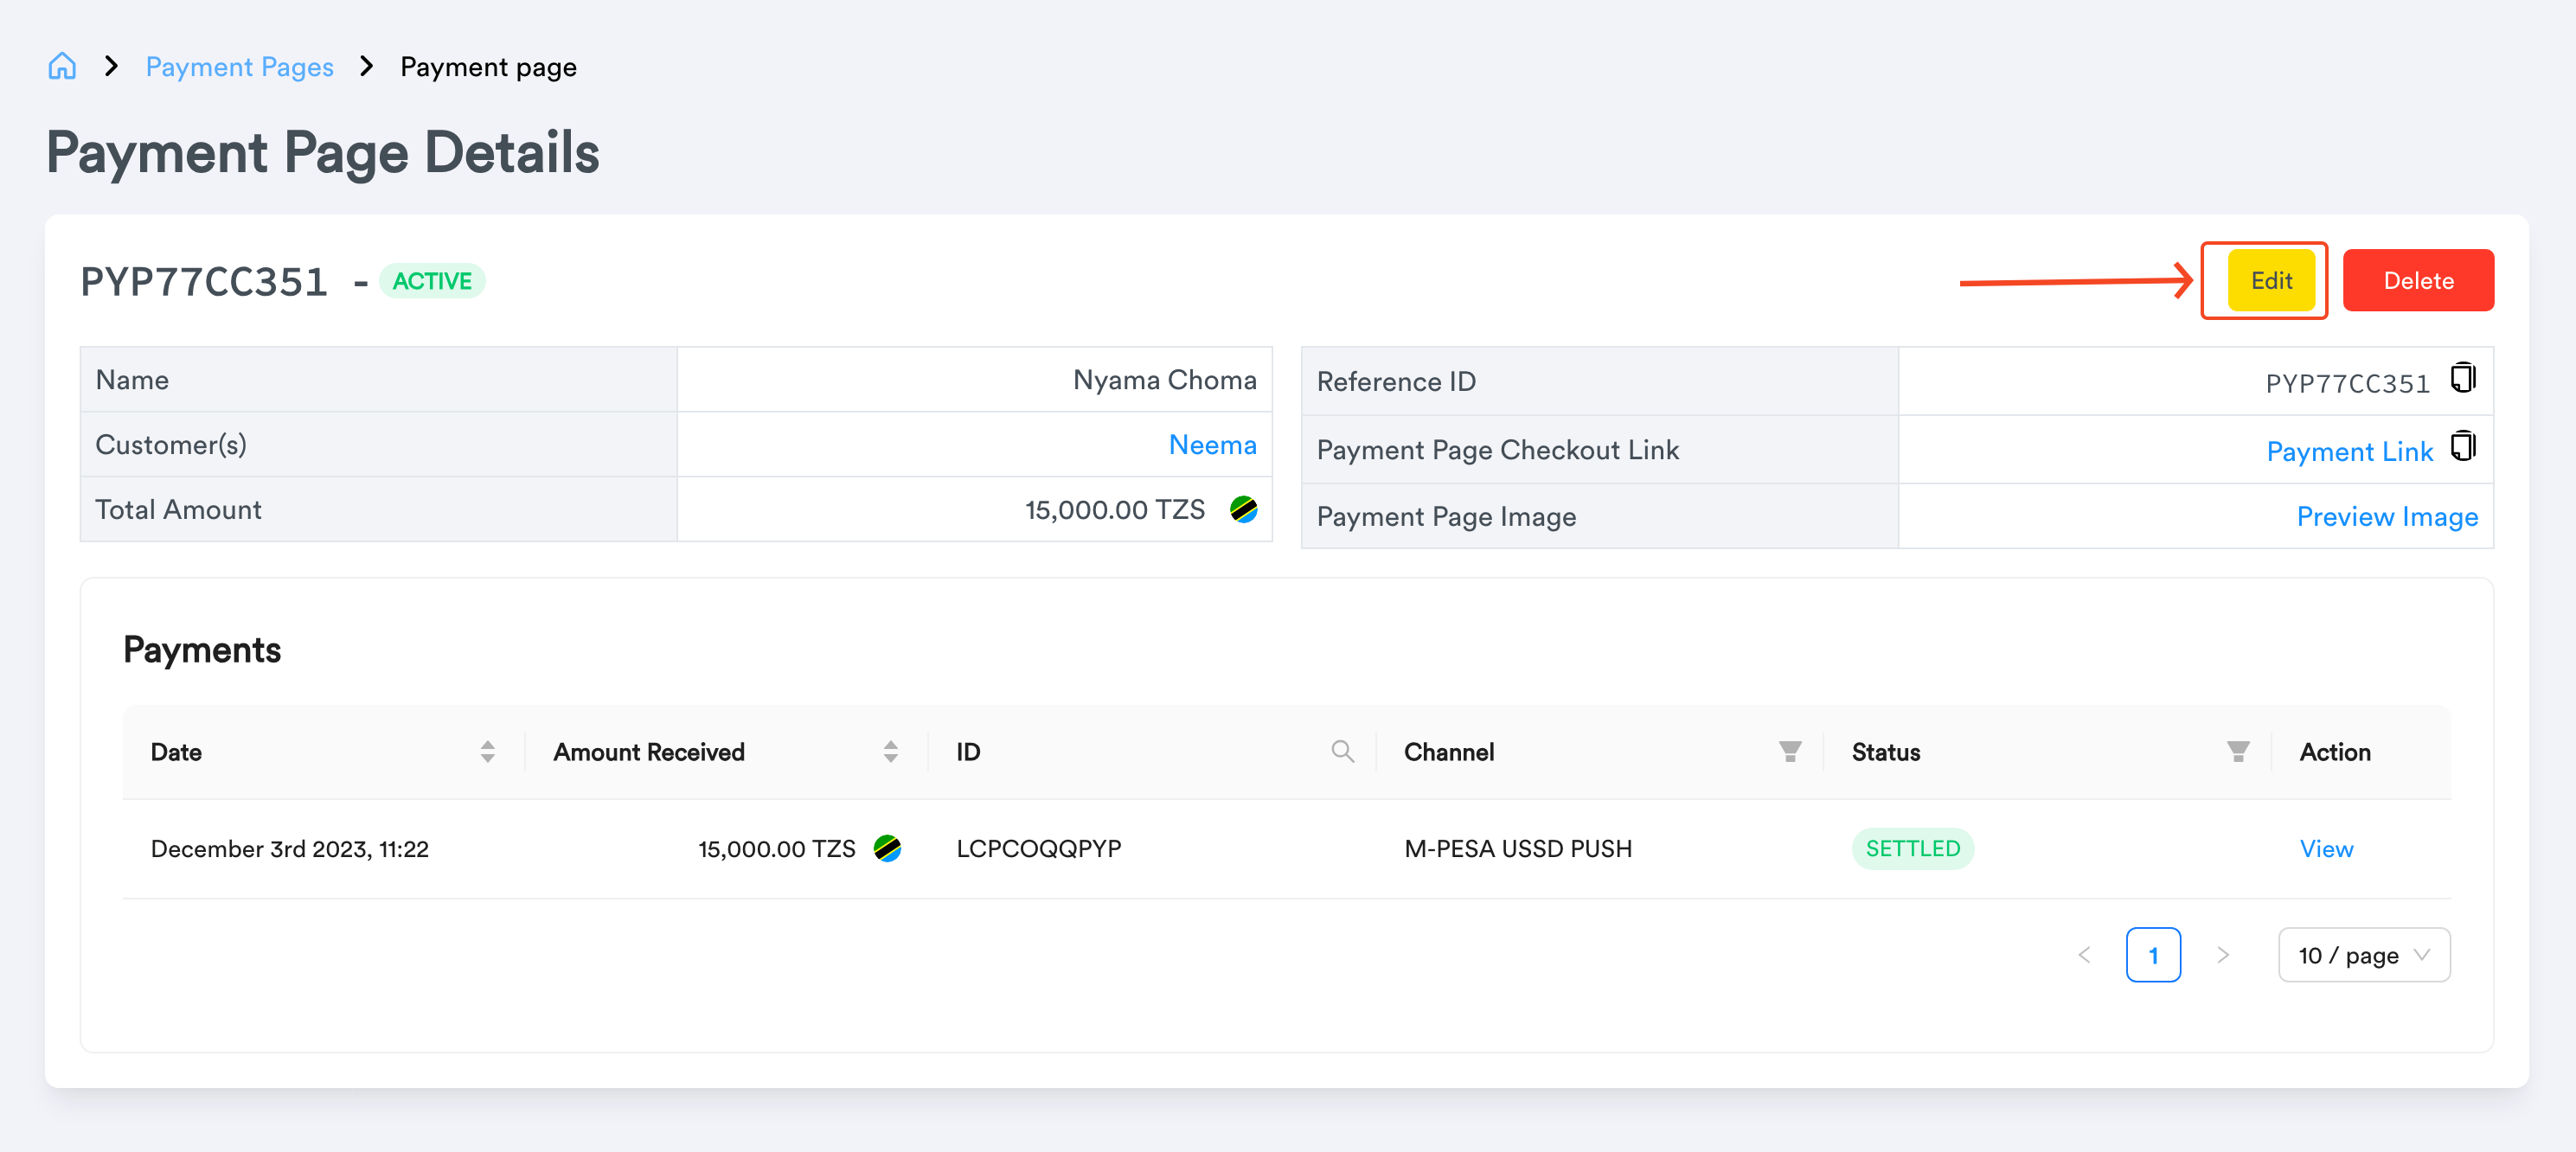
- Edit
When viewing payment page, there is an edit button which redirects to edit payment page. All the details about the page can be edited.
- Edit
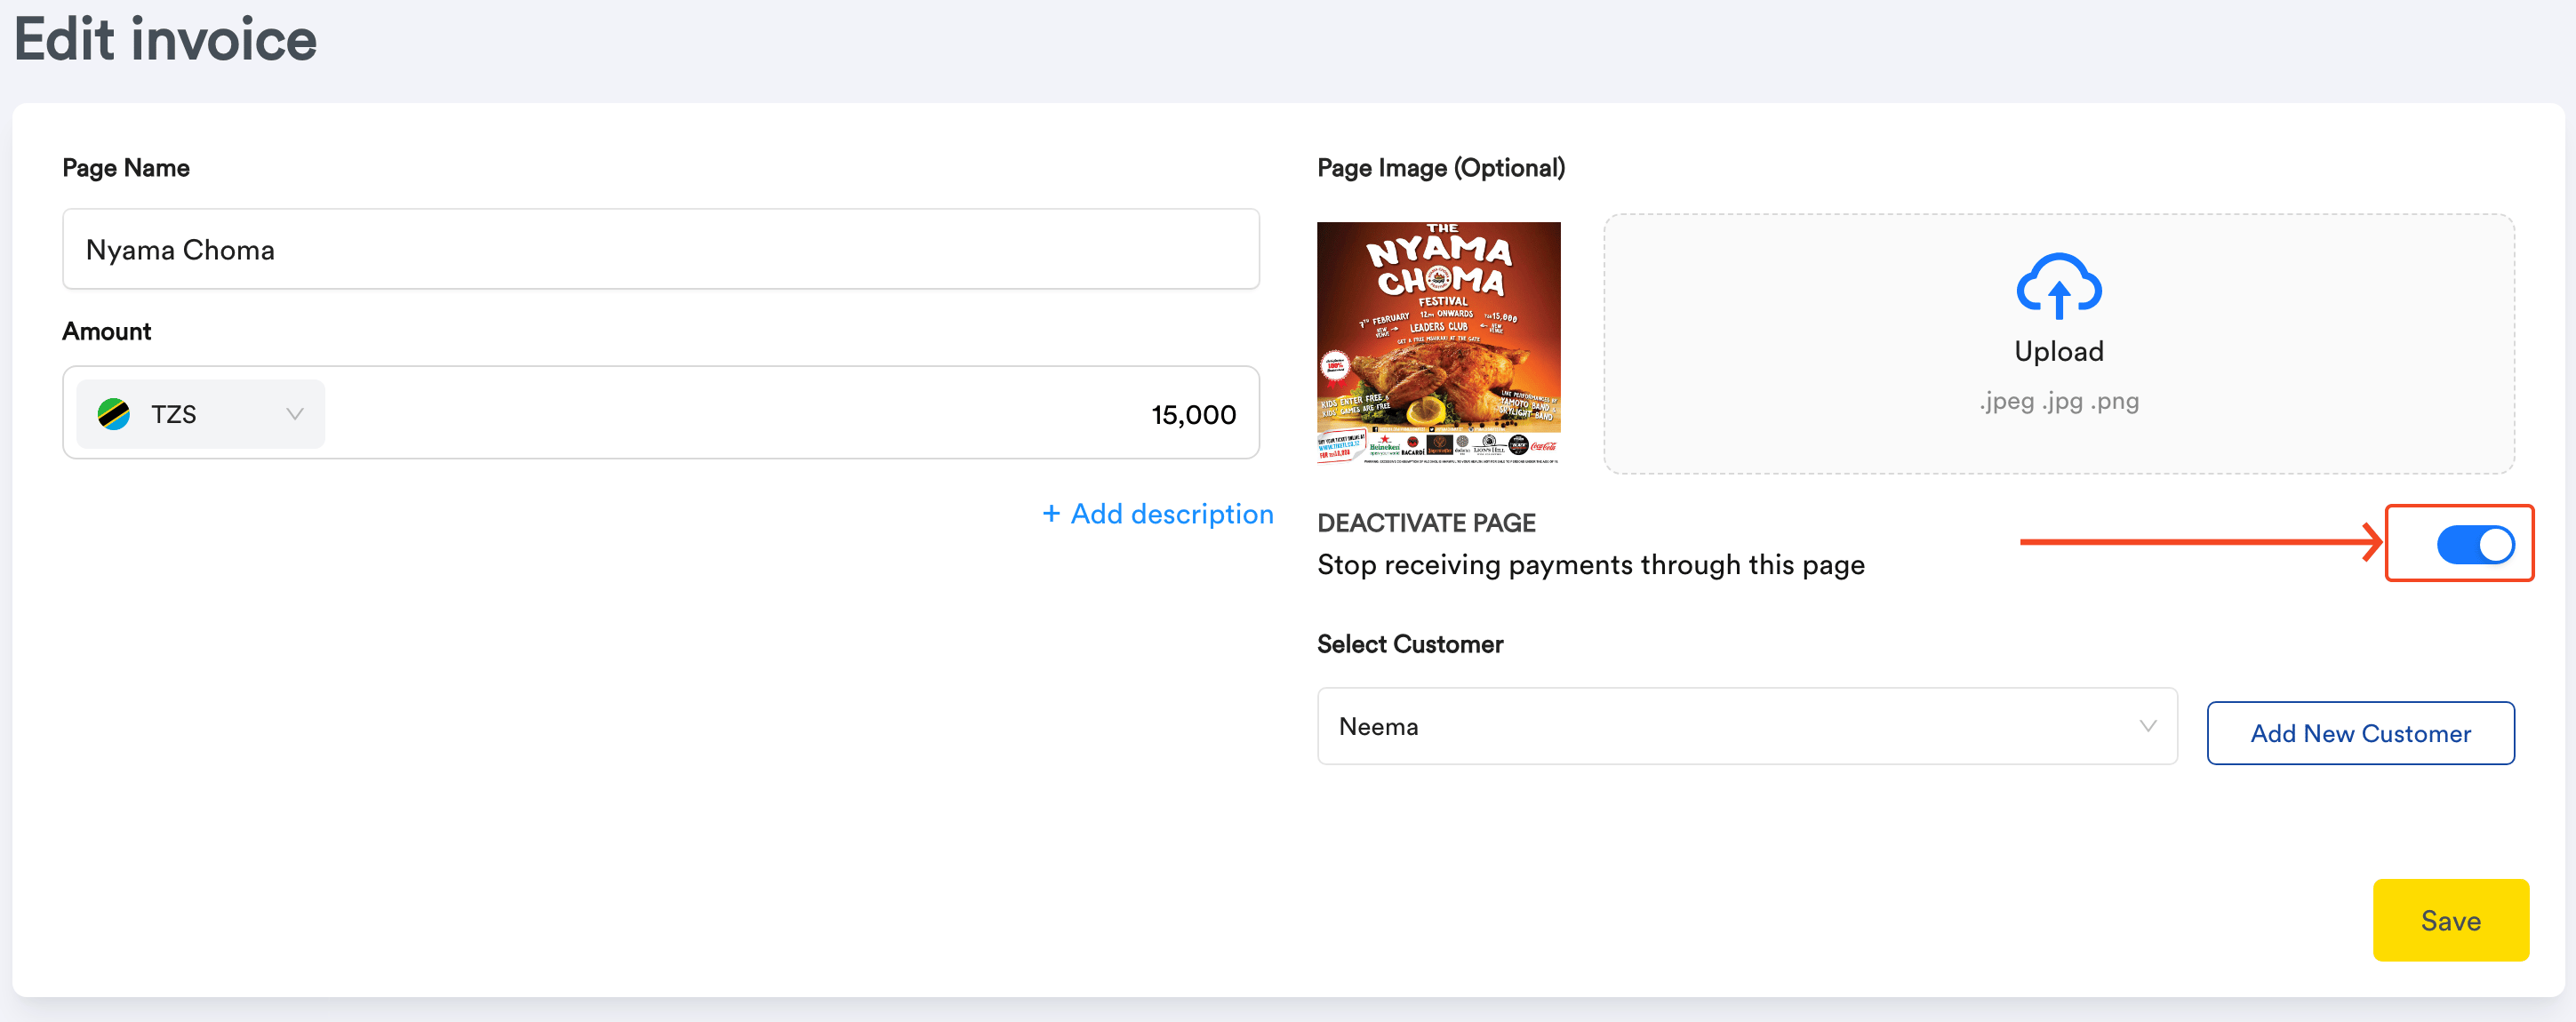
- Deactivate
After creation by default a payment page is activated, this means it can receive payments. When viewing payment page there is a toggle to deactivate the payment page. When the payment page is deactivated, the payment page will no longer receive payments.
- Delete
When viewing payment page, there is delete button which will delete the payment page.
Tips and Best Practices
When creating a payment page, if you know which payment method the customers are going to use, it is best to select a currency supported by that method. However, it’s not mandatory since the our checkout supports allows customers to pay in various currencies using all available payment methods.Common Use Cases
- Events, festivals and sport facilities can use a fixed amount Payment Page to sell online tickets.
- Educational institutions can use Payment Pages to collect school contributions from students and their parents. Use open amount when each contribution can differ, or fixed amount when the fee is set.
- Microfinances can use Payment Pages to receive funds from their customers. This not only facilitates easier collection of loan repayments but also helps them keep track of customers who have paid and those who haven’t, particularly in relation to loans.
- NGOs can use an open amount Payment Page to accept contributions and donations from supporters.
Frequently Asked Questions (FAQ)
- During collection who gets charged, is it me or my customer?
Customer is paying for the charges during collection. - My customers don’t have smartphones, how do they pay?
The payment page can only be opened on a computer or smartphone as the payment page is web-based. For customers that don’t have a computer or smartphone, a merchant can go to the payment page, choose NMB Bill Number (valid for 15 minutes) or Bank Deposit (valid for 7 days) and share these payment instructions and details manually with the customer. The customer can then do the payment accordingly. - When a customer pays me do I get notifications?
Currently notifications are not sent when a customer pays. - Is ClickPesa limited to specific operators i.e. M-Pesa, Mixx By Yas, or just Artel Money?
There are multiple methods to collect funds via ClickPesa such as Mixx By Yas, Airtel Money, Mpesa, Bank and Card. Learn more about all the payment methods that ClickPesa supports.