> ## Documentation Index
> Fetch the complete documentation index at: https://docs.clickpesa.com/llms.txt
> Use this file to discover all available pages before exploring further.
# Customers
> Add customers and assign BillPay control numbers in the Merchant Dashboard
Learn about Customer BillPay control numbers in the [BillPay Overview](/bill-pay/bill-pay-overview).
### Create customer
1. To add a new customer, navigate to the left-hand side of your ClickPesa Merchant Dashboard and select "Customers". You will be presented with a screen like the one shown below.
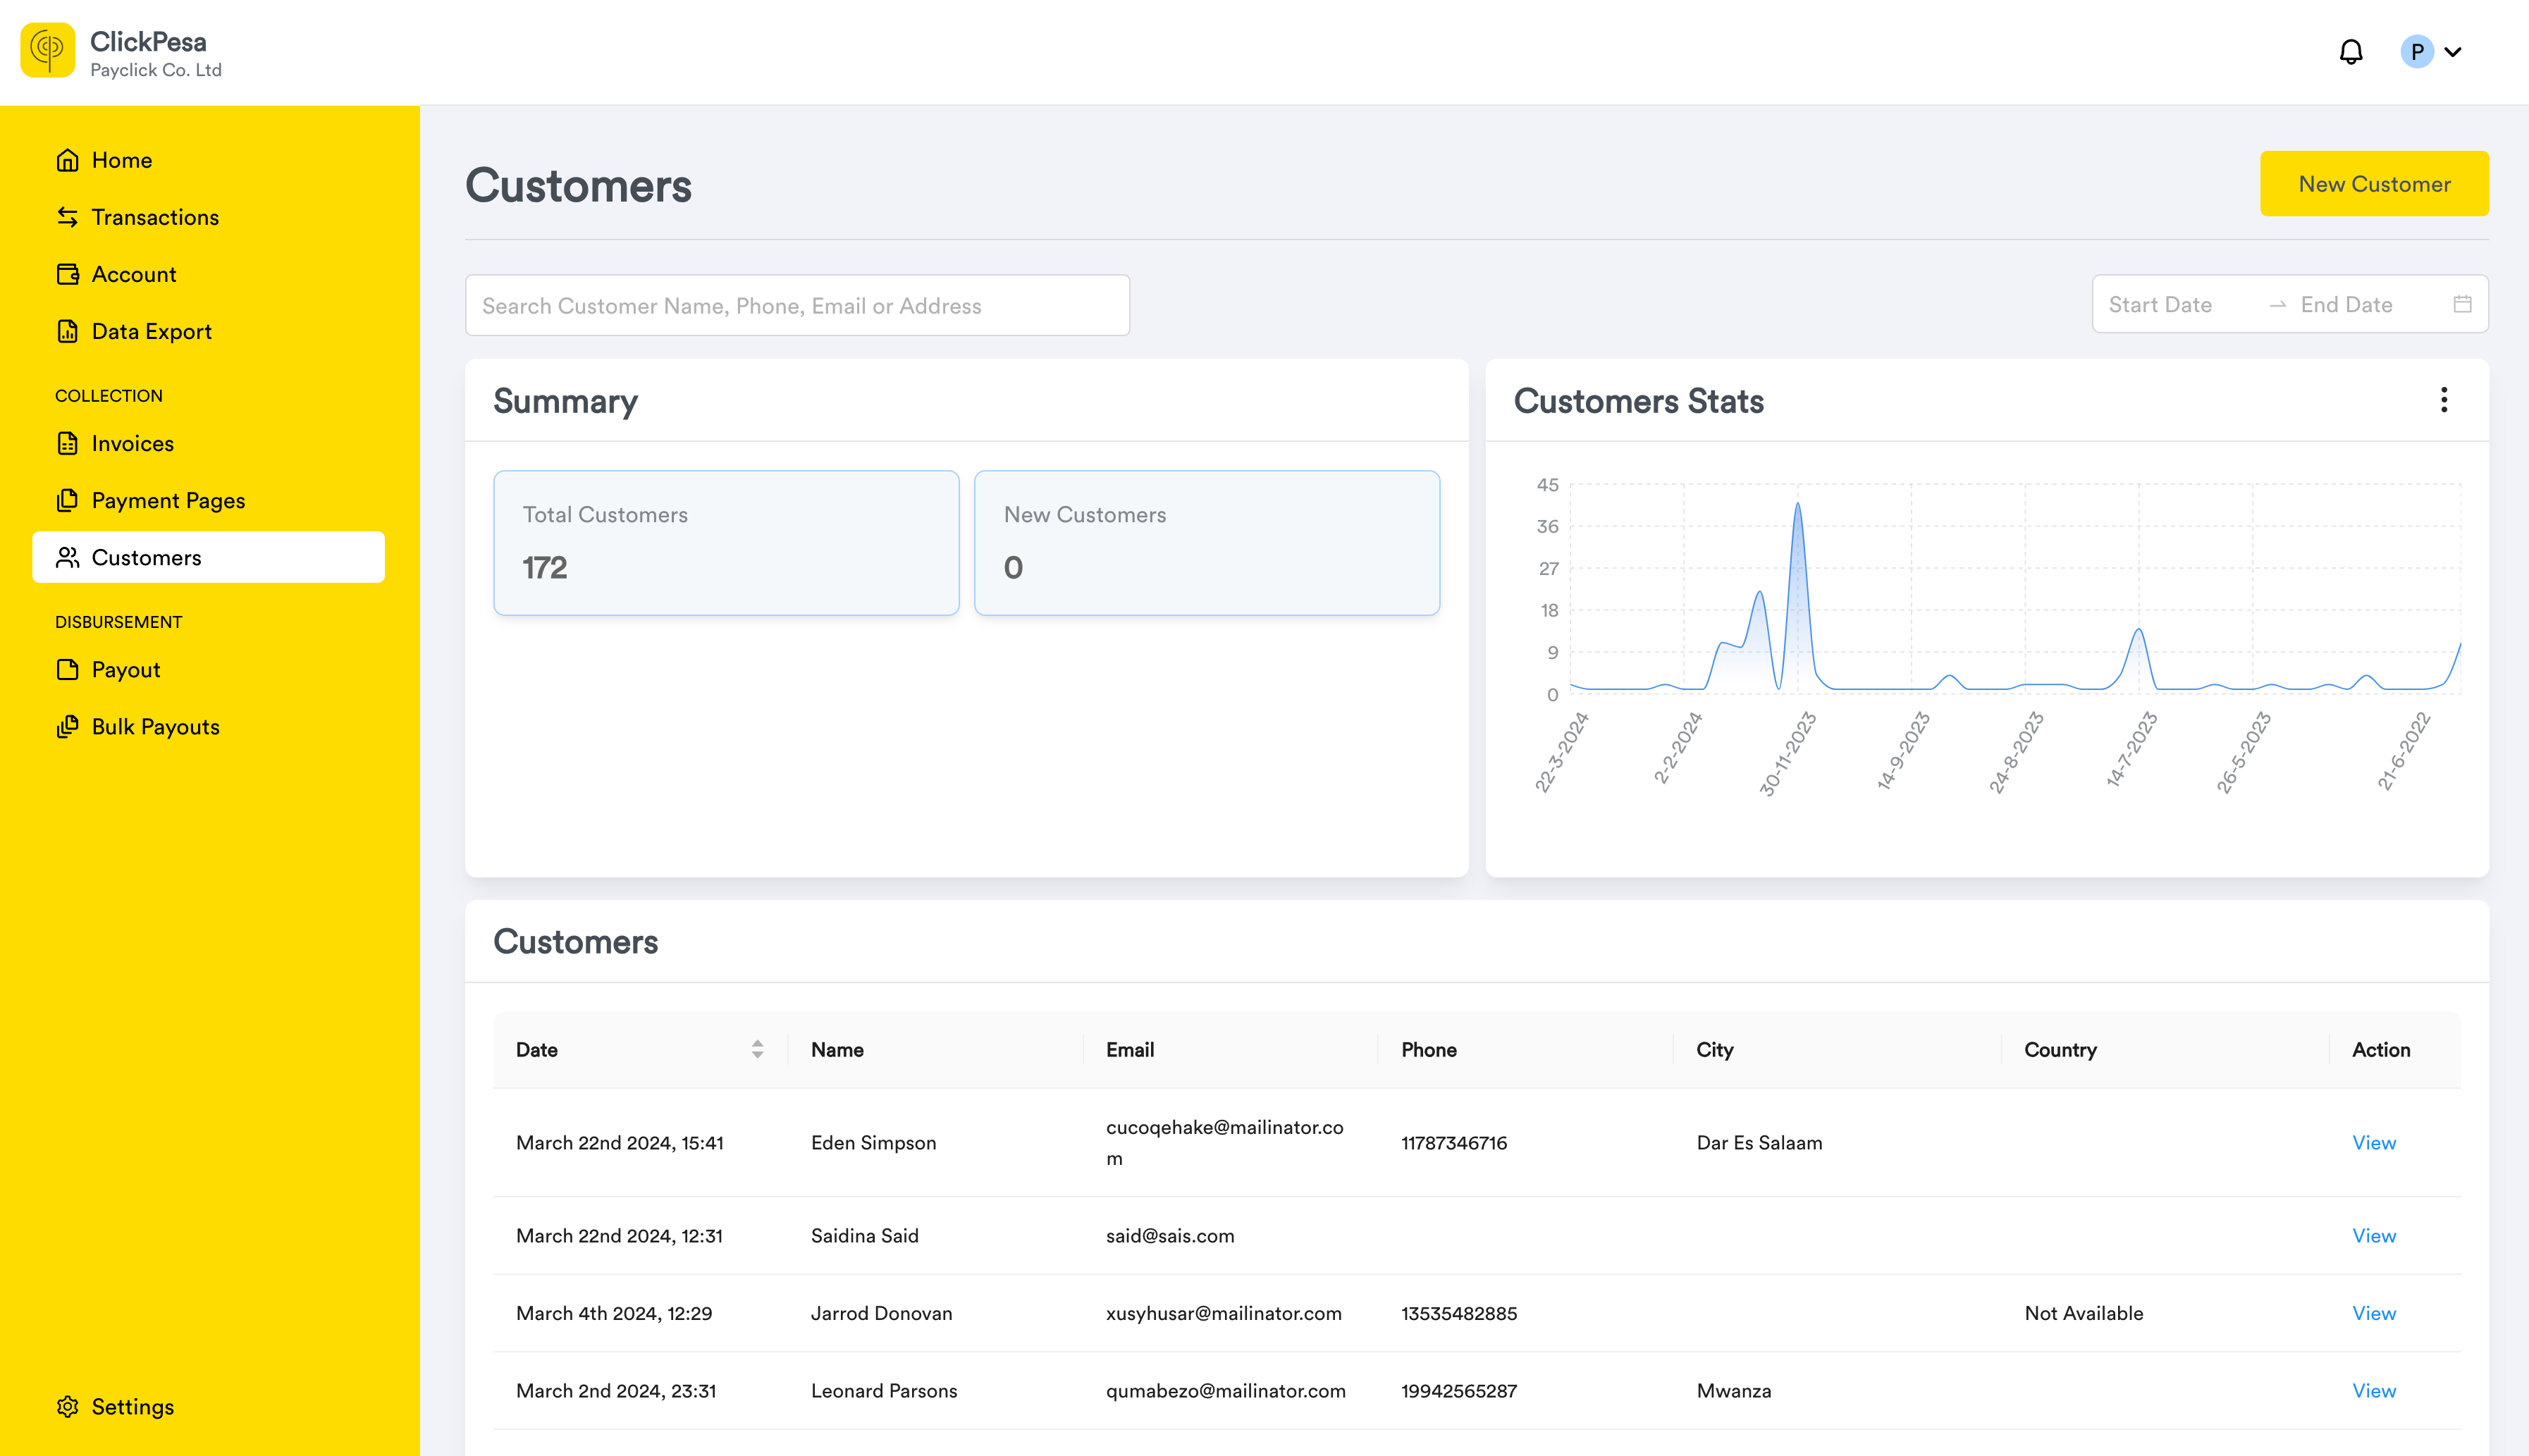 2. On the page you should be able to see summary with all customers count and new customers (customers that were created today) count.
3. You will also be able to see a graph section where data are measured by time or status.
2. On the page you should be able to see summary with all customers count and new customers (customers that were created today) count.
3. You will also be able to see a graph section where data are measured by time or status.
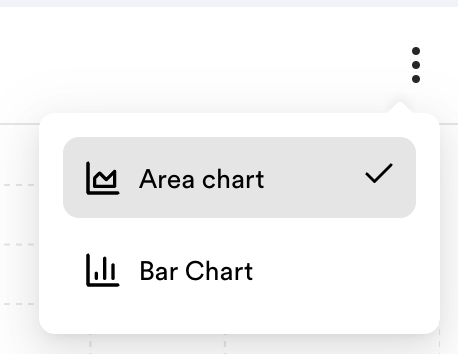
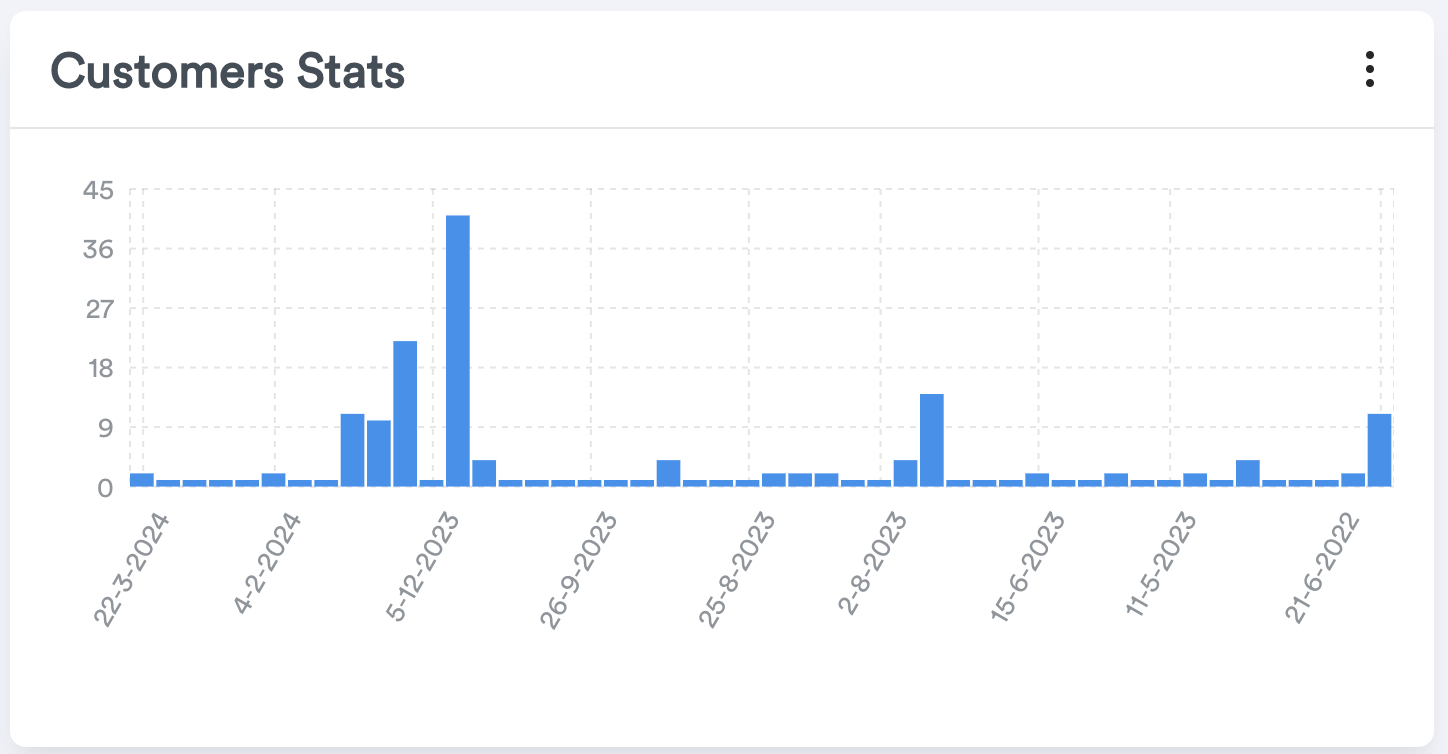
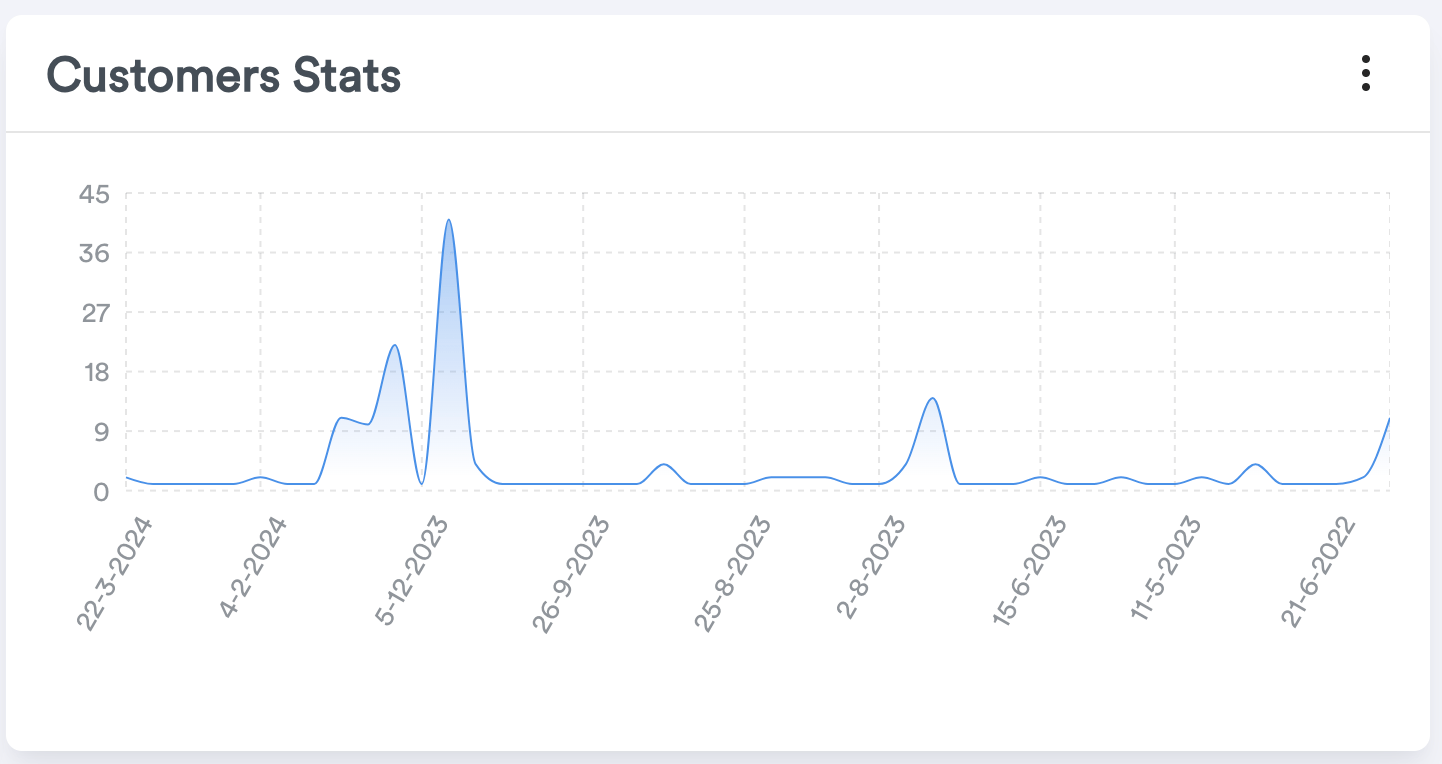 4. On the graph you will be able to change data style between area chart and bar chart
 5. On the Customers screen, click the "New Customer" button located in the top right corner to begin adding a new customer.
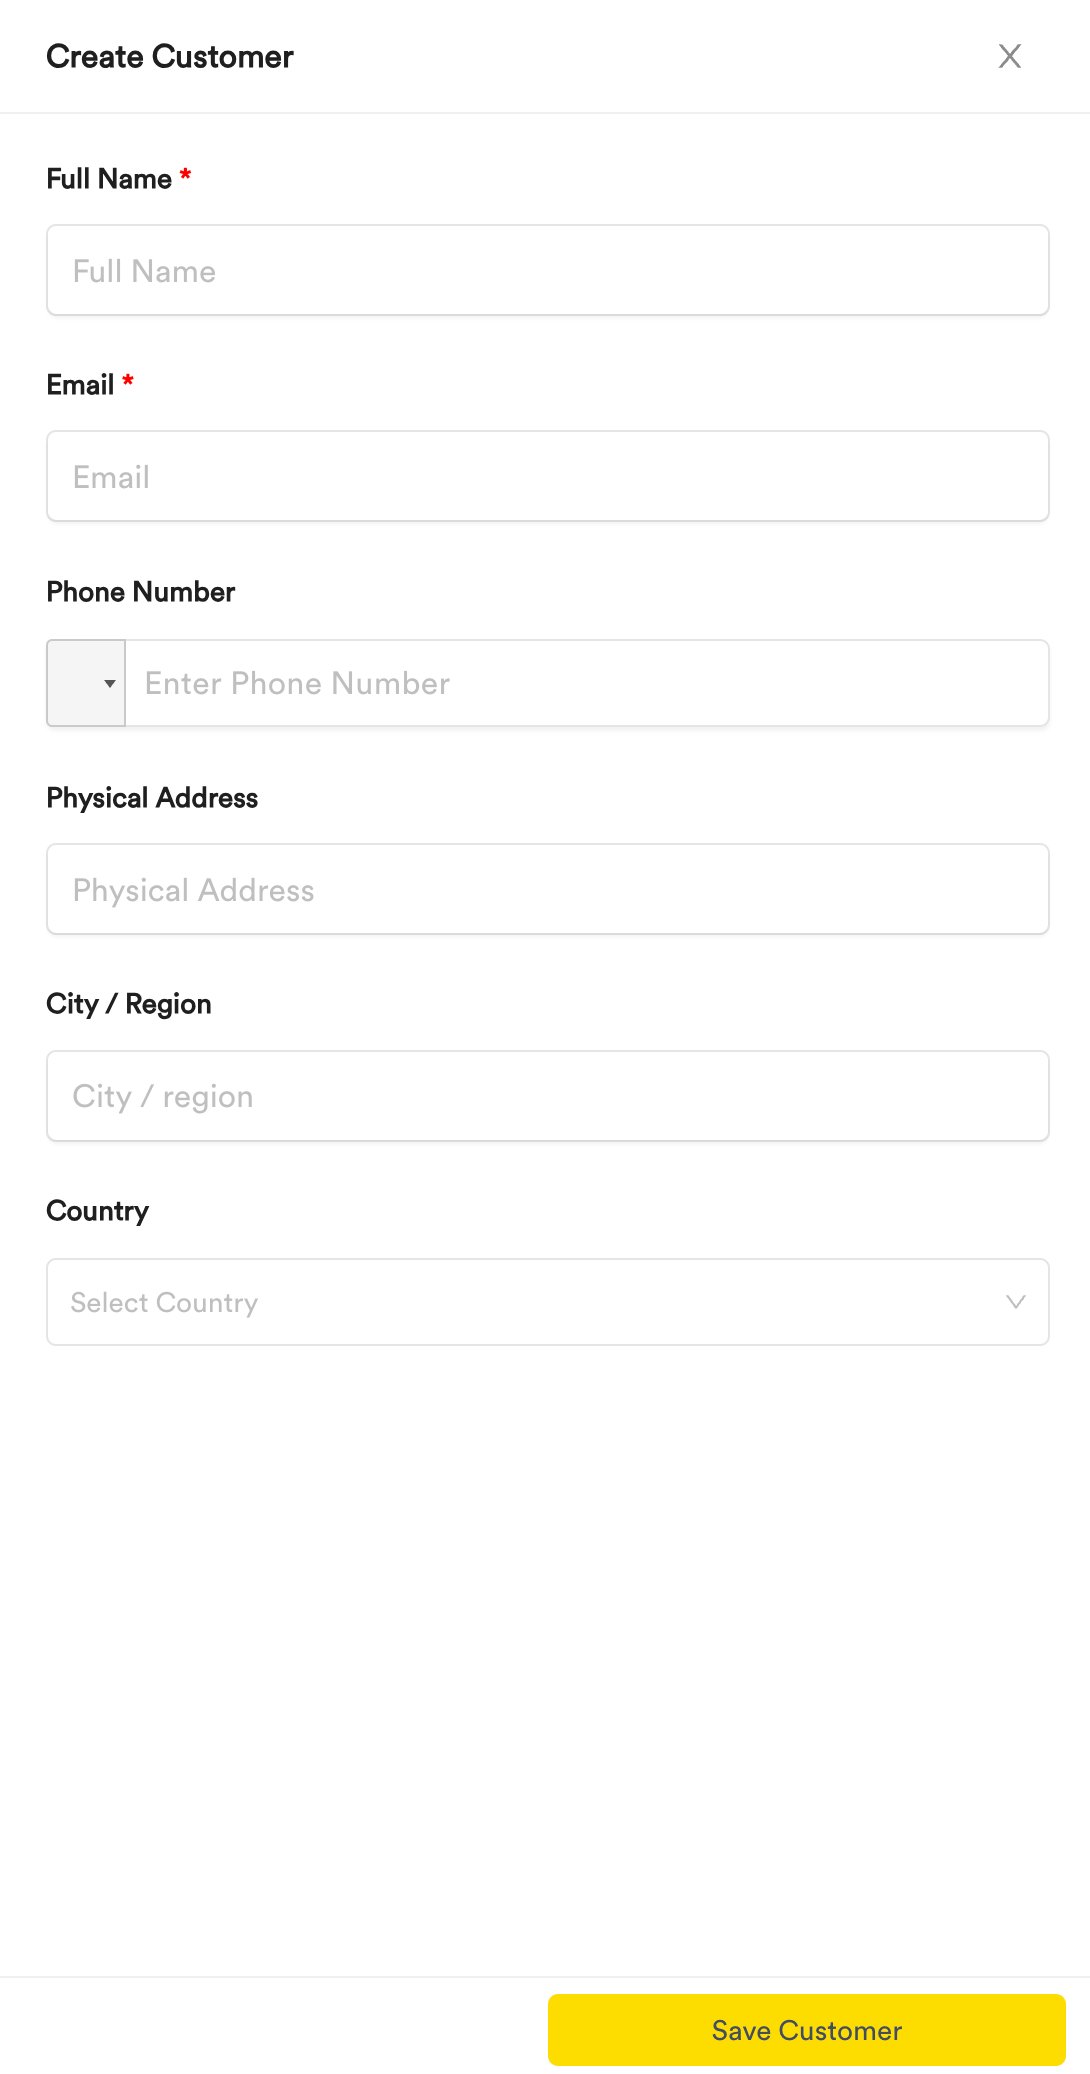
 6. A drawer will appear with a "Create Customer" form. Here, you can enter essential details like the customer's Full Name and Email. Optionally, you can also provide additional information such as Phone Number, City/Region, and Country. Once filled out, click the "Save Customer" button to store the customer's details.
 ### View all customers
To add a new customer, navigate to the left-hand side of your ClickPesa Merchant Dashboard and select "Customers". You'll be presented with a summary which shows the total number of customers and a customers table which shows all the customers list.
You will be able to sort by date or search by customer name, email, phone, city or country.
### View single customer
1. Locate the customer you wish to view in the customer's table. Then, at the far right of the customer's row in the "Action" column, click the "View" button to access that customer's information.
### View all customers
To add a new customer, navigate to the left-hand side of your ClickPesa Merchant Dashboard and select "Customers". You'll be presented with a summary which shows the total number of customers and a customers table which shows all the customers list.
You will be able to sort by date or search by customer name, email, phone, city or country.
### View single customer
1. Locate the customer you wish to view in the customer's table. Then, at the far right of the customer's row in the "Action" column, click the "View" button to access that customer's information.
 2. Then you will be able to see details of your customer and a summary of all transactions under this customer.
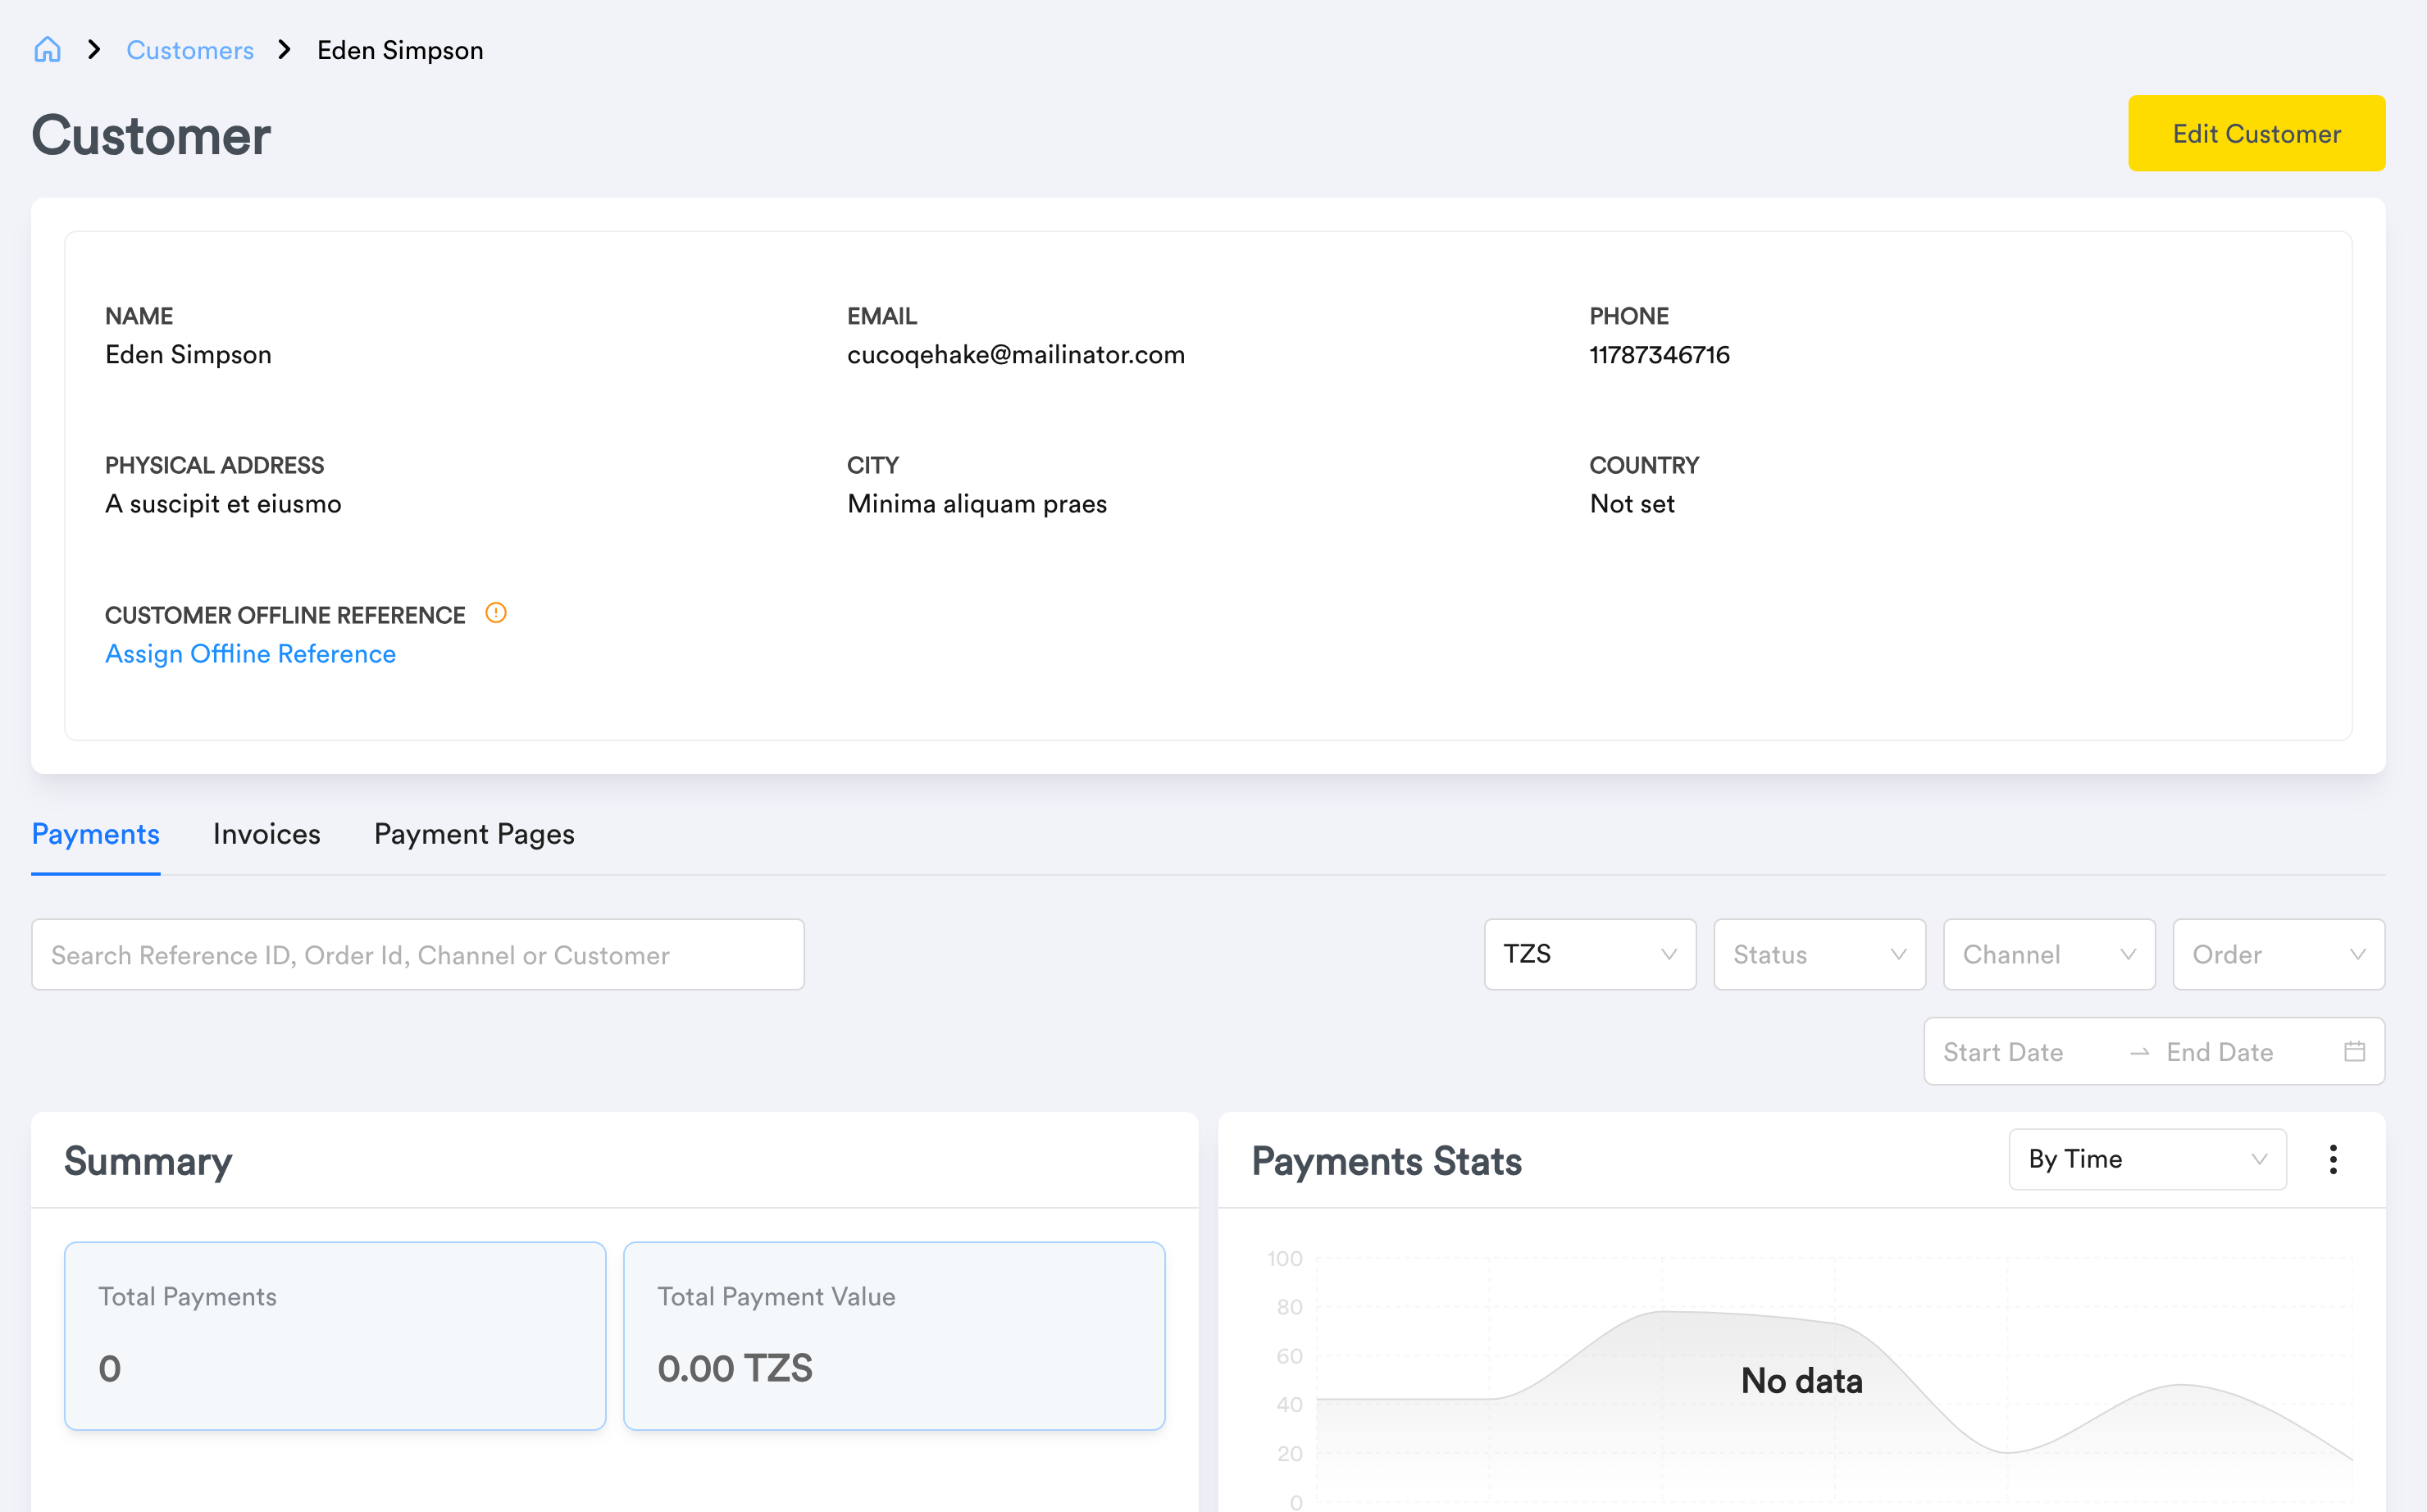 3. On each customer page you will see **Customer Offline Reference** section which allows customers to make payments via offline methods. [Learn more here.](/bill-pay/customer-billpay-namba)
### Edit customer
1. From the individual customer view (as mentioned in the previous step), look to the top right corner of the customer information section. Click the "Edit Customer" button to modify the customer's details.
3. On each customer page you will see **Customer Offline Reference** section which allows customers to make payments via offline methods. [Learn more here.](/bill-pay/customer-billpay-namba)
### Edit customer
1. From the individual customer view (as mentioned in the previous step), look to the top right corner of the customer information section. Click the "Edit Customer" button to modify the customer's details.
 2. A drawer will slide out from the right side of the page displaying the selected customer's information fields. You can edit these details as needed. Once you've made the necessary changes, click the "Save Customer" button to store the updated information.
### View customer transactions, payment pages and invoices
To view a customer's payments, payment pages and invoices, simply access the individual customer view. Within this view, you'll find specific tabs for each item where you can view all payments made by a customer for that customer, payment pages and invoices to a customer.
## Common Use Cases
1. You can use this feature to manage your customer transactions related information so that you do not have to add the information every time you want to send funds or receive funds from the customer
2. A drawer will slide out from the right side of the page displaying the selected customer's information fields. You can edit these details as needed. Once you've made the necessary changes, click the "Save Customer" button to store the updated information.
### View customer transactions, payment pages and invoices
To view a customer's payments, payment pages and invoices, simply access the individual customer view. Within this view, you'll find specific tabs for each item where you can view all payments made by a customer for that customer, payment pages and invoices to a customer.
## Common Use Cases
1. You can use this feature to manage your customer transactions related information so that you do not have to add the information every time you want to send funds or receive funds from the customer